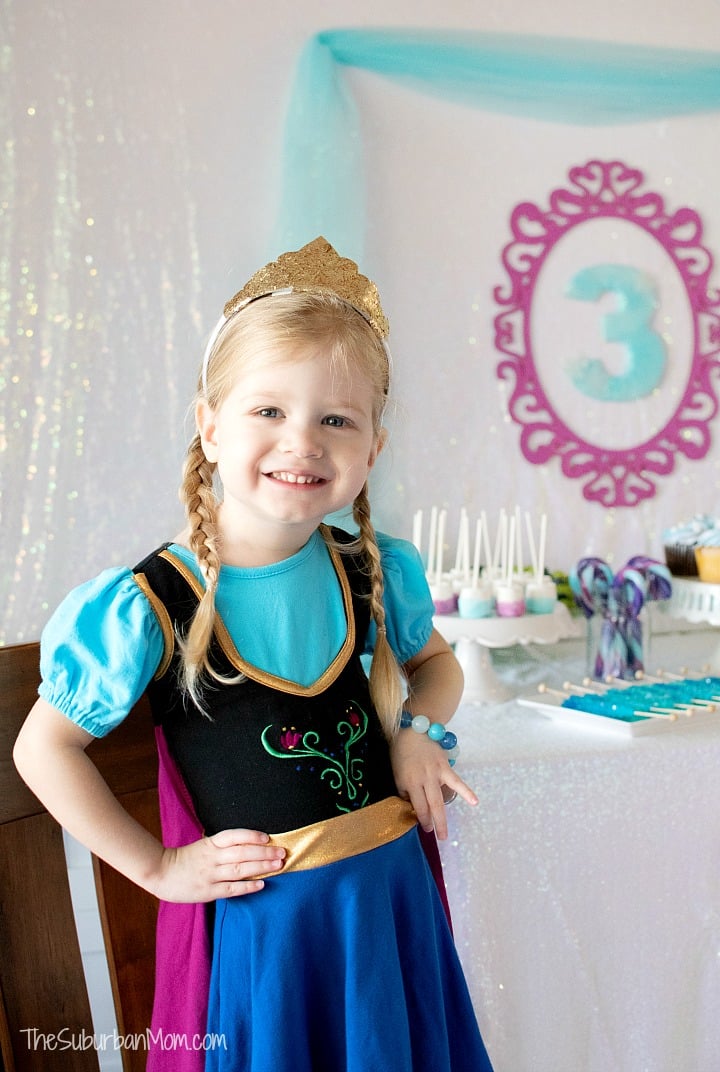
Our youngest loves to accessorize. There is a heavy rotation of rings, necklaces, bracelets and princess crowns bejeweling our youngest. It seemed only fitting to give out princess crown party favors for her Frozen birthday party. But we’ve had our share of ill-fitting plastic crowns and tears when they break too easily. So I decided to make something that would last through hours of dress-up and even wearing to school. These DIY Princess Crowns were made for play.

Having previously made Minnie Mouse ears for party favors and monkey ears for a school play, I had a good idea of what I need to do to make a crown that was play-ready. But unlike the others, I didn’t want to use felt so I looked at a lot of different materials to create my perfect princess crown craft.

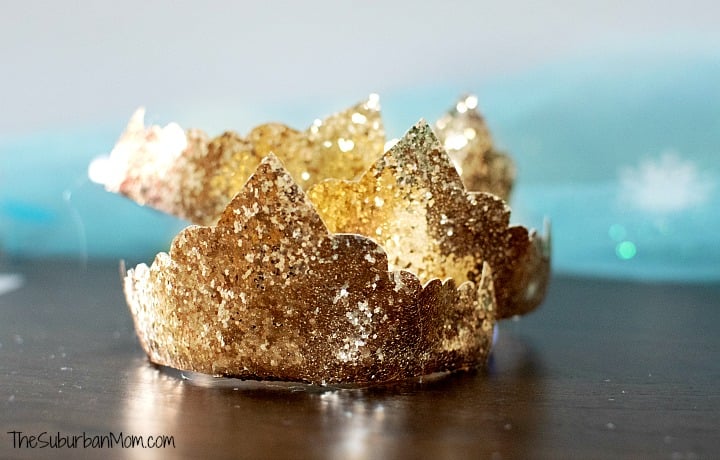
When I discovered rolls of gold glitter “ribbon” at Hobby Lobby, I knew it was perfect. I was most excited to discover that the large glitter does NOT come off the material, so these crowns do not leave a glimmering trail of glitter in their wake. (Note, the same material is also sold in sheets at Hobby Lobby. The rolls of ribbon were on sale, so it was the best option to make a bunch of crowns, but the sheets work too and come in a variety of colors.)
I used my Cricut Maker for this project, utilizing the rotary blade that is unique to the Maker. If you have a different Cricut, I recommend trying this with a deep blade. I don’t currently have a deep blade, but I think it would also work.

For those who don’t have a Cricut at all, the pattern below can also be cut by hand, but the Cricut Maker makes this project a breeze.
Materials:
- Gold glitter ribbon
- White headbands*
- Hot glue gun and glue sticks
- Cricut Maker
- Rotary blade
- Strong grip matt
- Crown template (DOWNLOAD HERE)
When you download the template above, it will open Dropbox in a new window. You do NOT have to have a Dropbox account to download the file if prompted, just skip that step. Download the file to your desktop and use per instructions below.
*I picked these white headbands for my DIY princess crowns because they are soft and flexible. While they fit an adult head (without giving me a headache!!) they work fine on my petite three-year-old. They are also the kind that can bend a long way without breaking, an added bonus for kids.

Directions:
The crown template above is provided as a PNG. If you are using a Cricut, you can upload the file directly into Design Space. For those who are cutting by hand, you can print a copy of the template.
Use a strong grip matt and place the glitter material face down. By placing it face down, the blade can go directly through the backing without catching on the individual glitter pieces. In order to keep the material from slipping, reinforce the matt with painter’s tape around the edges of the material.
Feed the matt into your Cricut Maker and cut the pattern using the rotary blade.
Note, I found that while the blade cuts through the material like butter, it struggled a bit with the scallops of the crown. However, when you flip it over and look at the crown from the glittery side, you really can’t tell.
After cutting out the crown pattern, hot glue the bottom edge to the top, flat side, of the headband. Then use wrap the tabs around the headband and secure them to the back with more hot glue. The tabs keep the crown secure on the headband so it doesn’t flop and is not easily peeled off the headband.
My daughter has worn her crown more times than I can count since her party, and it still looks exactly as it did when I made it. So I am happy to report, that the crowns will stand up to playtime.

