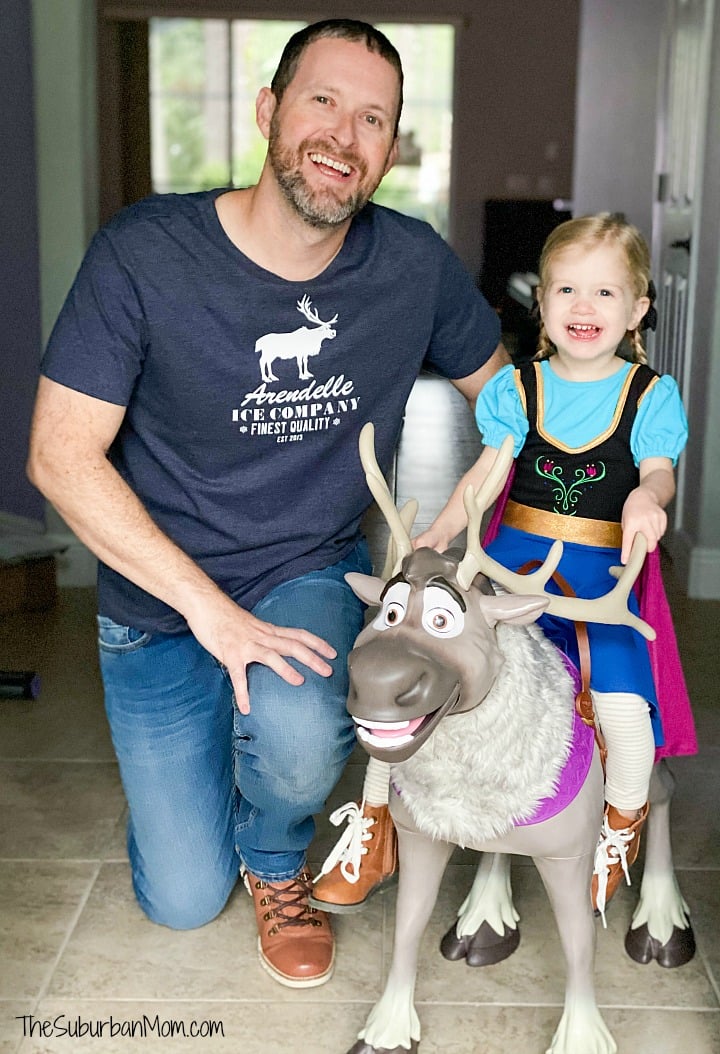
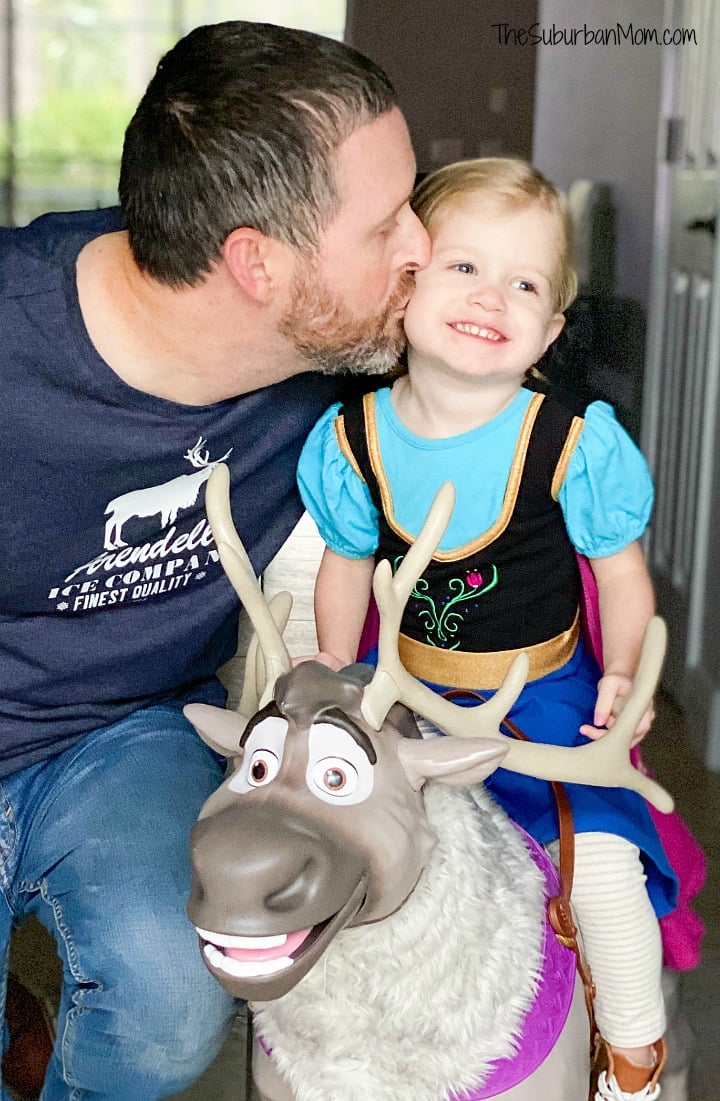
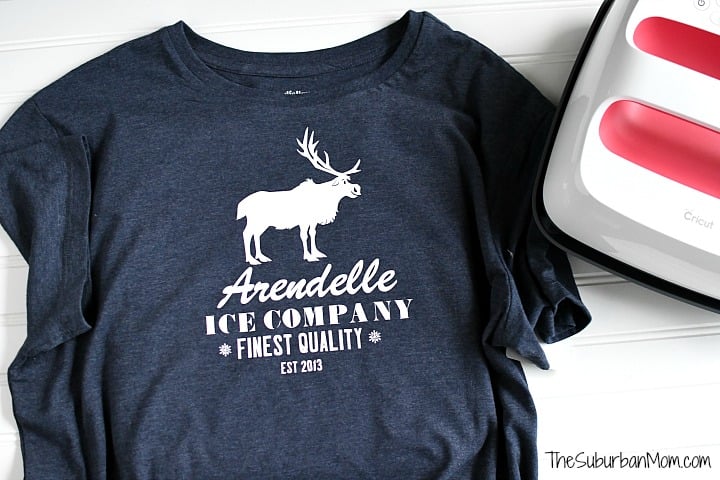
With my daughter’s third birthday just around the corner, I am crafting Frozen items for her party left and right. My first big project is shirts for the whole family so we look the part for our little Anna. Because my husband hasn’t always been a fan of wearing Disney shirts, I am extremely excited about this subtle men’s Frozen shirt for dad. It gets him in the theme without screaming Frozen. If you don’t know, it looks like just a generic shirt, but on second glance that’s Sven and a nod to Kristoff, which also means he might wear it more than once!
This post is sponsored by Cricut.

Can you tell how happy our Frozen-loving daughter is to see her daddy in a Sven shirt? (The ride-on Sven was a birthday present.)
DIY Men’s Frozen Shirt
I’m gonna throw this out there, yes, this would be adorable for women too. But I love the idea of dad having a Kristoff inspired shirt, plus I have another idea for a shirt for me. So this one is a men’s shirt, that women are welcome to wear as well 😉

Materials
- Iron-On Vinyl
- Cricut
- Easy Press or Iron
- Easy Press Mat
- Weeding tool (optional)
- Shirt*
*I used THIS $6 shirt from Target.

Directions
I created the Arendelle Ice Company design in Cricut Design Space, Cricut users with access to Design Space can access my design HERE. The official licensed Sven character is an additional one time $1.99 charge to use. If you don’t want to pay for the Sven license, there is a moose silhouette available with the Design Space subscription that you could substitute if you are so inclined. However, my three-year-old recognized Sven immediately and was excited that he was on dad’s shirt.
Place the iron-on vinyl shiny side down on the cutting mat and be sure to MIRROR the image before cutting.
Carefully weed your image. (Weeding means to remove the parts of the vinyl that you don’t want to be stuck to the shirt. A weeding tool is helpful for the tiny areas like the space in the letter “e.”)
Note – I was not careful weeding and aggressively tore the A in Arendelle. Because I was short on extra iron-on vinyl, I decided to cut out the pieces I needed separately. Then I tried to iron them all on together at once. Don’t do this. I misjudged placing the words and I am very sad everything isn’t perfectly centered. If you use my image as one piece, it will be centered. If you do make a mistake weeding and cut them separately, iron them on one at a time to ensure proper placement. It was a rookie mistake all the way around.

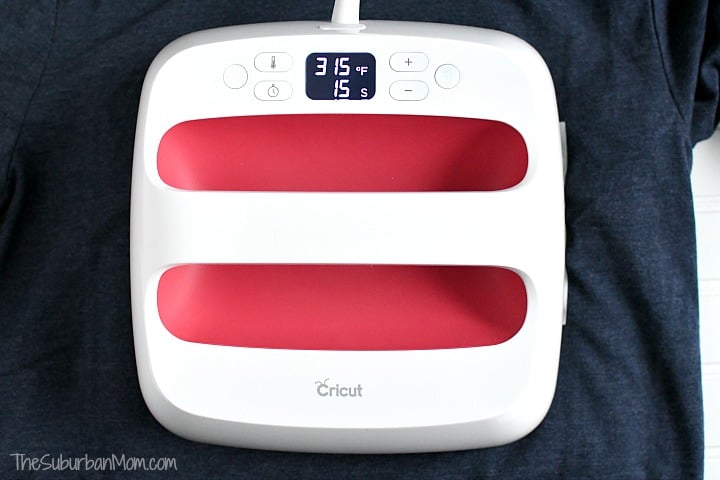
Use an Easy Press to adhere the image to your shirt. You can find Easy Press temperature and time settings HERE.
This was my first time using the Easy Press 2, and I found that I needed more time than allotted to get my iron-on vinyl to adhere. But after pressing a few more times, it came out perfect.
Tip – I also learned that warm peel is not hot peel. When using Cricut iron-on vinyl, allow the vinyl to cool to warm before peeling for best results.

Easy Press 2 Review
Let’s talk about the Easy Press 2. This was my frist time using it, and it was great. It takes the guesswork out of ironing on vinyl. With my iron, I never really know the temperature, and, let’s face it, I always lose track counting the seconds for a press. You can set the Easy Press to the exact temperature you want and it counts for you, and the Cricut pressing guide helps you determine what those settings should be.
I’ve never been a fan of getting out the bulky ironing board, so the Easy Press Mat allows me to press my vinyl on any surface – usually a table, sometimes the floor.
I also really like that it sits in a tray. Maybe it’s just me, but I am a clutz and have knocked over my iron on more than one occasion. With Easy Press 2, I place it back in its tray after each use.

As I mentioned above, this was my first experiment with the Easy Press 2, and I definitely found that I had to do a couple of extra presses to make the vinyl stick. But I am guessing that has more to do with polly/cotton blend shirt I used than the press.
On the underside of the Easy Press 2 is a large flat surface that heats evenly. I have the 9×9 Easy Press 2, which is a good size to press a shirt. But I also think the Easy Press Mini would be handy for small items and hard to reach spots. I think that’s next on my wish list.
If you are tired of ironing your vinyl with a standard iron, the Easy Press 2 is a great upgrade.
Stay tuned for more Frozen inspired Cricut projects.

This is a sponsored conversation written by me on behalf of Cricut. The opinions and text are all mine.
