Our littlest one started her first year of ballet class last year, and it was just about the cutest thing you’ve ever seen. Although the year didn’t go quite as planned (thanks COVID), I wanted to celebrate the end of the year with a special gift. So I made her and her dance buddy matching Tutu Cute shirts using Cricut Infusible Ink.
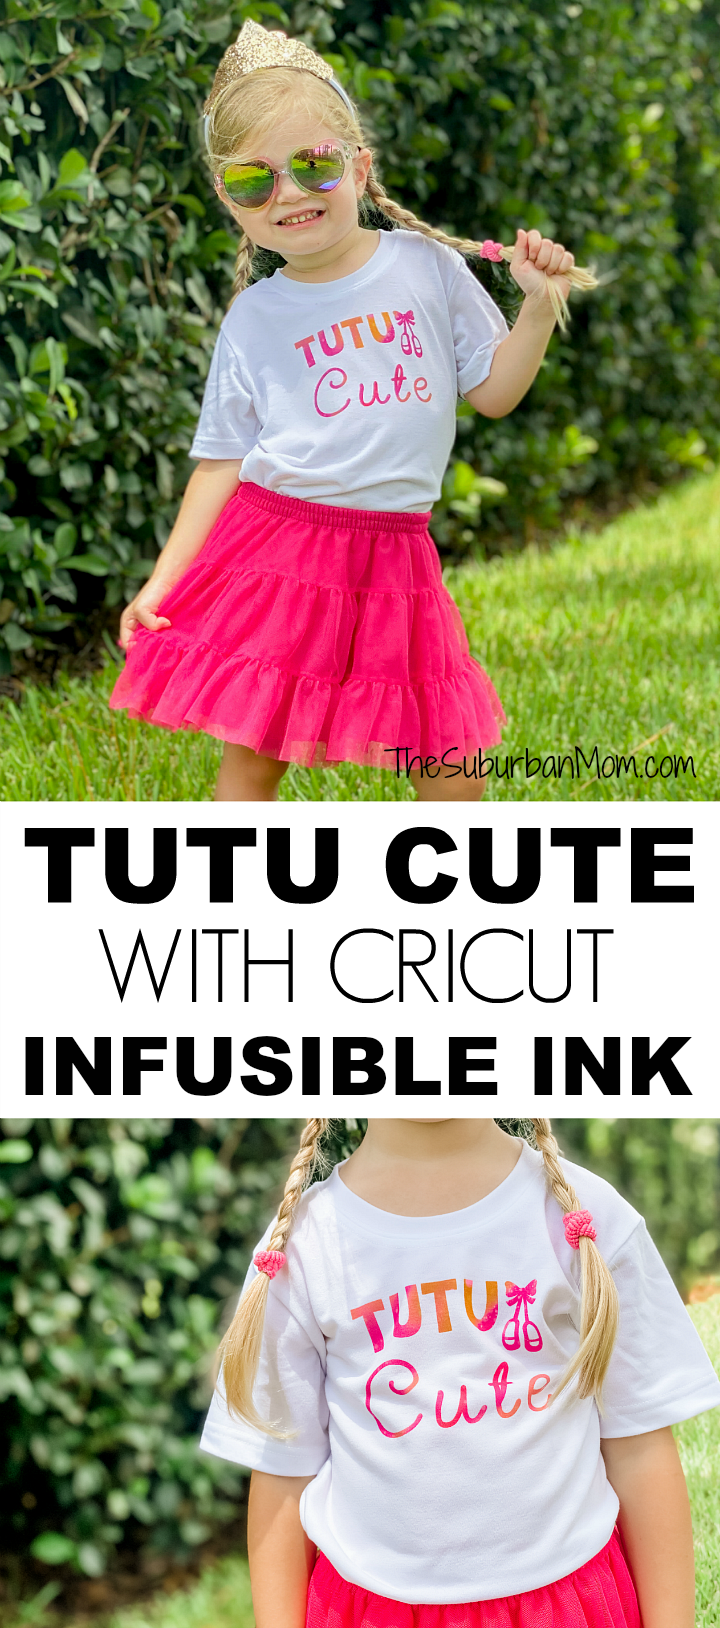
As you can tell from her picture, she’s pretty pleased with her special shirt. Unfortunately, we haven’t been able to get the girls together to take pictures of them together. But I’ve seen her buddy wearing her shirt, and hopefully, we will get them together again soon.

Cricut Infusible Ink
This was my first time using Cricut Infusible Ink, and it went so much better than expected! I don’t know why, but I found myself intimidated. I’ve made shirts with iron-on vinyl and I’ve used a Cricut to make projects for more than 10 years, but this intimidated me. Let me assure you that if you feel the same, there’s no need. Infusible ink is similar to iron-on vinyl, but so much cooler. I can’t wait for my next Infusible Ink project.
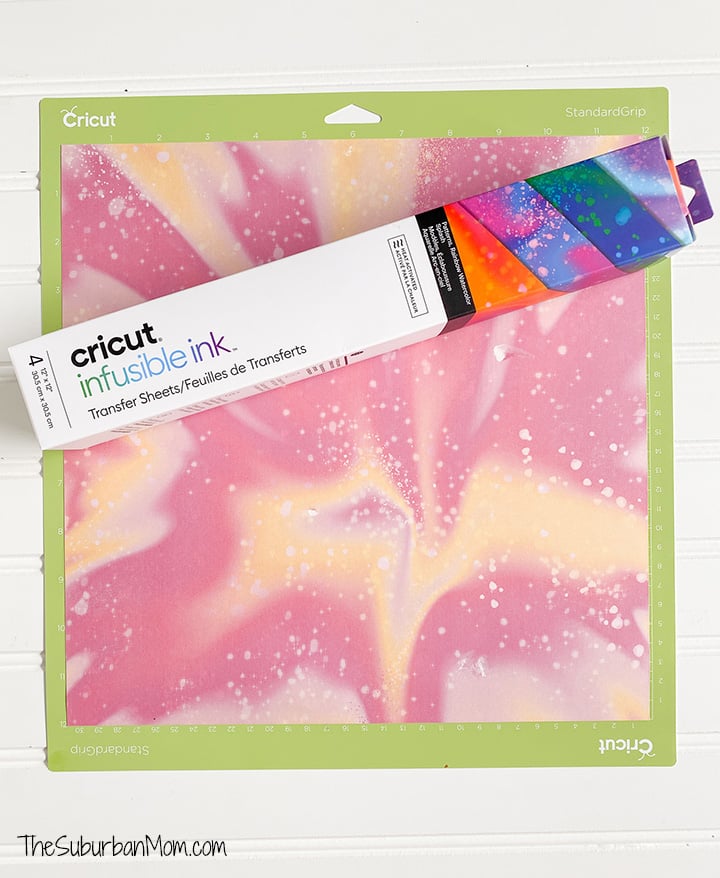
What makes Infusible Ink transfer sheets different (and super cool) is that the ink is infused into the fabric. Rather than lying on top like vinyl, the ink becomes part of the fibers. So it won’t come off – no peeling, no cracking.
In order to make the Infusible Ink work, the fabric must have a very high polyester count. The higher the better. I used Cricut brand shirts intended for Infusible Ink for this project and it worked perfectly.
*** IMPORTANT ***
DO NOT GET THE INFUSIBLE INK MATERIAL WET BEFORE USE – IT WILL RUN. I dripped a large drop of water onto my material before pressing, and the ink ran. I had no idea this would happen. It worked out for me because I cut around this part, but it is VERY important to know so you don’t ruin your material.
Once pressed, Infusible Ink is permanent. The warning is only for before use.

How To Make A Tutu Cute Shirt With Infusible Ink
Materials:
- Polyester Shirt (I THESE Cricut shirts)
- Infusible Ink (I used THIS one)
- Cricut machine (I have a Cricut Maker HERE)
- EasyPress (or iron)
Directions:
To use my Tutu Cute design, click HERE to load the design directly into Cricut Design Space.
You may need to resize the design depending on the size shirt you are making (it is currently sized for a toddler shirt). But other than that, it should be ready for you to use.

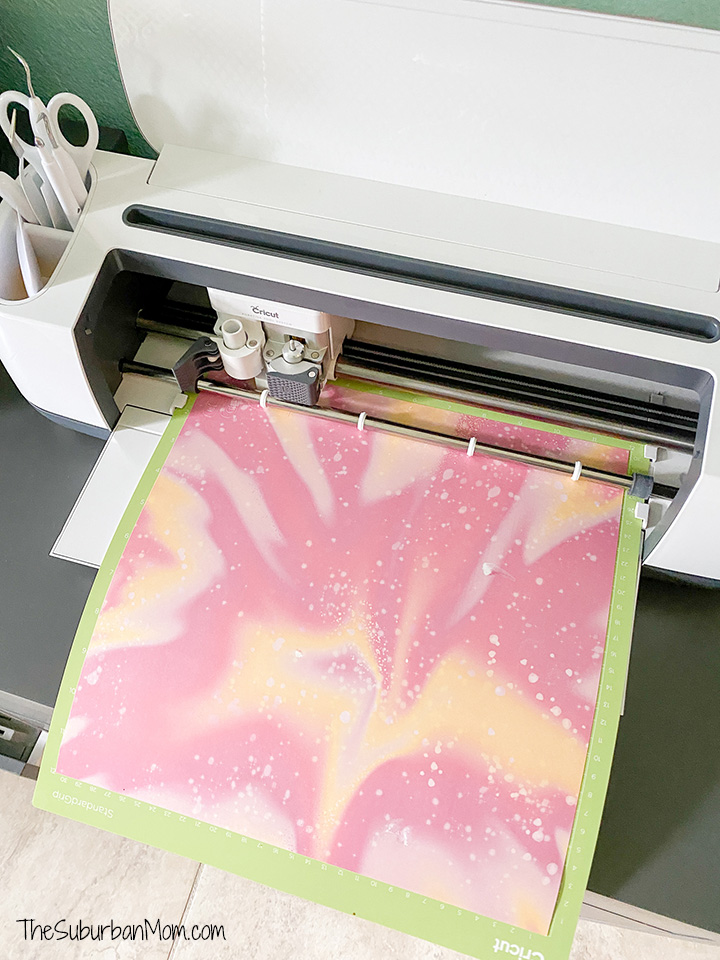
Place the Infusible Ink on a Standard Grip mat colorful side up. (You will cut from the back just like iron-on vinyl.) Remember to MIRROR your design when you go to cut.
Choose Infusible Ink as your material. And cut.
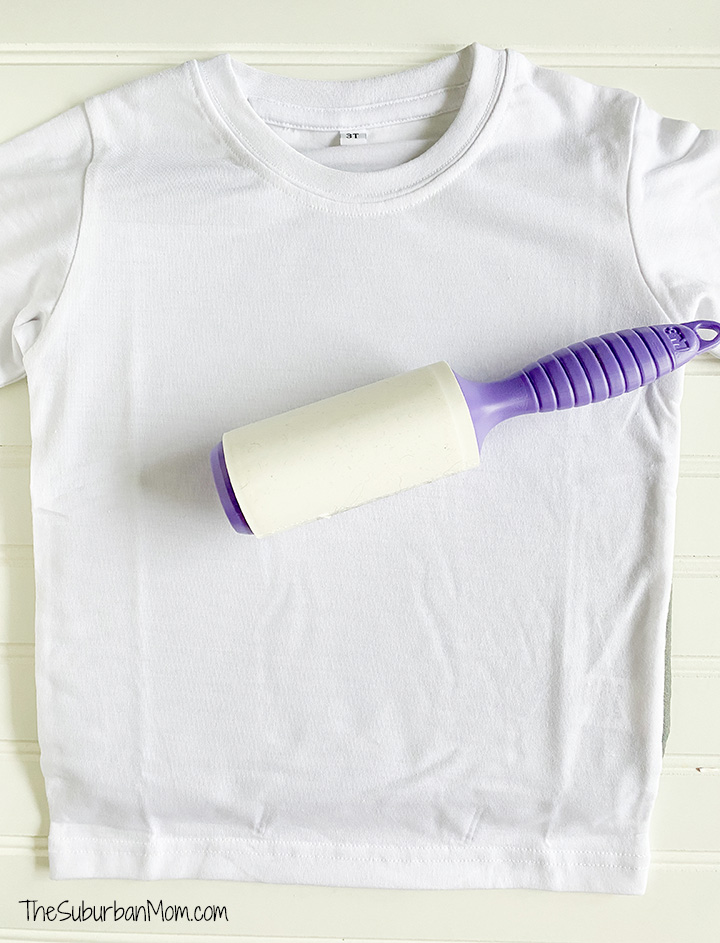
To prepare your shirt, use a lint roller to get off any fuzzies that might be on your shirt. Then preheat your shirt for 15 seconds.
Place a piece of thick paper or cardboard inside the shirt so that the color will not bleed through. In this case, I used the cardboard that came in the Cricut shirt packaging.
When you begin to weed the Infusible Ink, you will see how different it is than iron-on vinyl. It is very thick, almost like a cardstock paper. You won’t need tweezers to weed it.

After weeding the Infusible Ink, place the design on your shirt. Make sure it is lined up how you want it.
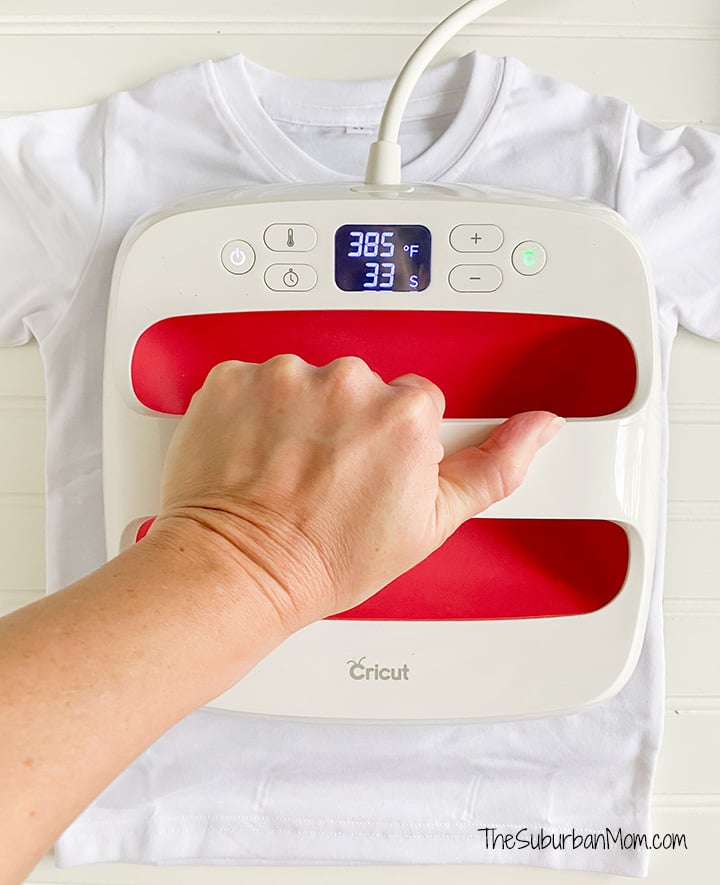
Place one of the parchment papers (included with Cricut Infusible Inks) on top of the design. Use your EasyPress to press the image at 385 degrees for 40 seconds with a light pressure. (Find more EasyPress heat settings HERE.)
Peel away plastic transfer while still warm. The thick cardstock like paper will peel away with the adhesive transfer. The Infusible Ink will remain behind.

So there it is. My first (of many more to come) Cricut Infusible Ink projects. A Tutu Cute shirt, if I do say so myself. Perfect for any ballerina, but especially made for mine.

Love her crown? I made that with my Cricut too. Check out my DIY Princess Crown Tutorial.
