You guys, I am giddy over my pantry. Giddy I tell you. What was once an eyesore, is now organized, functional and pretty! Of course, once I got everything organized, I had to label my new pantry containers. Thanks to my Cricut Maker, designing pantry labels was as easy as one, two, three, and I am going to show you how.
This is a sponsored post.
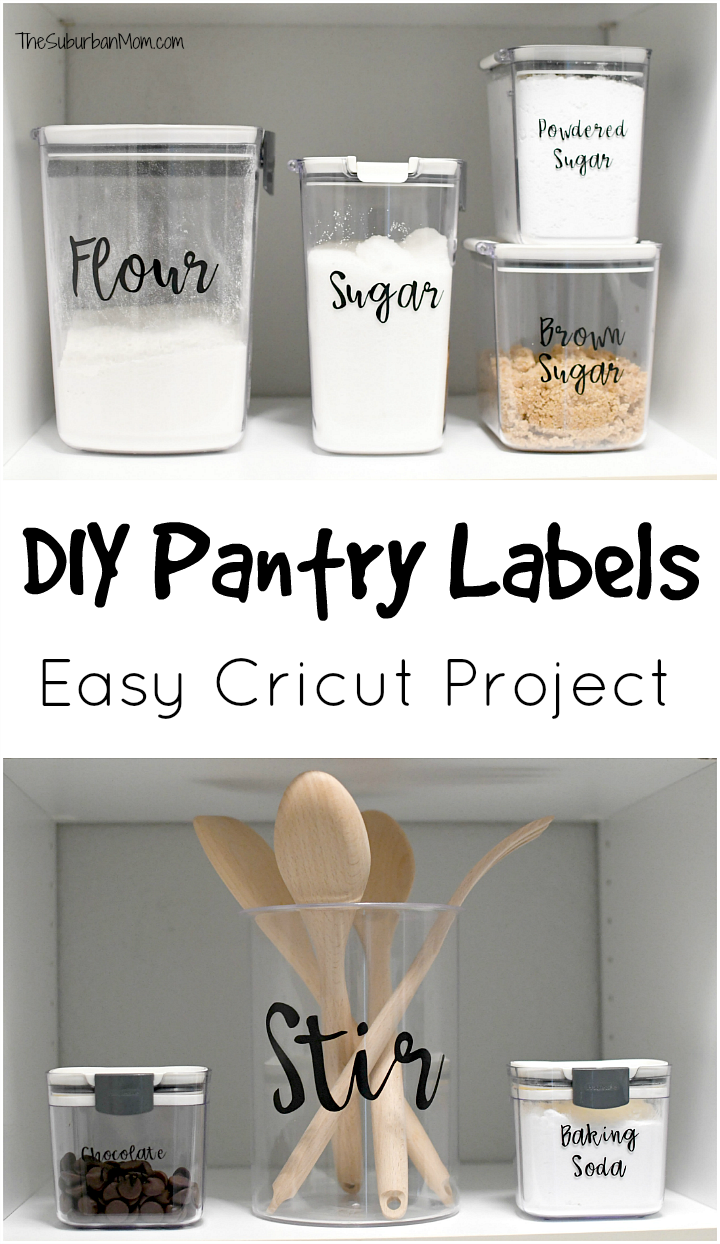
Pantry Organization
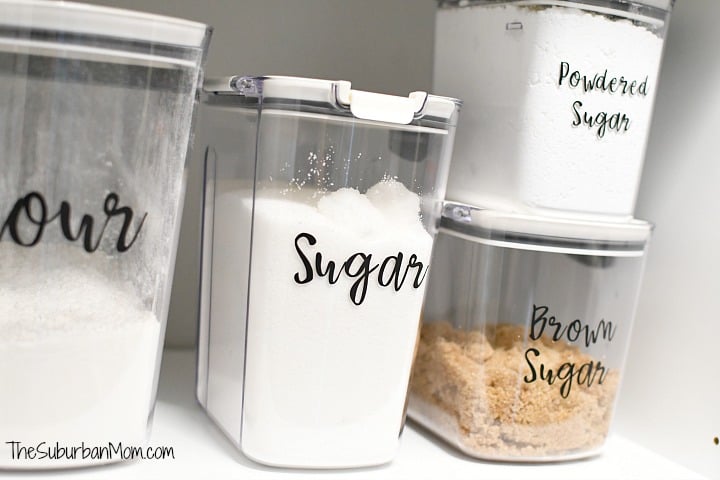
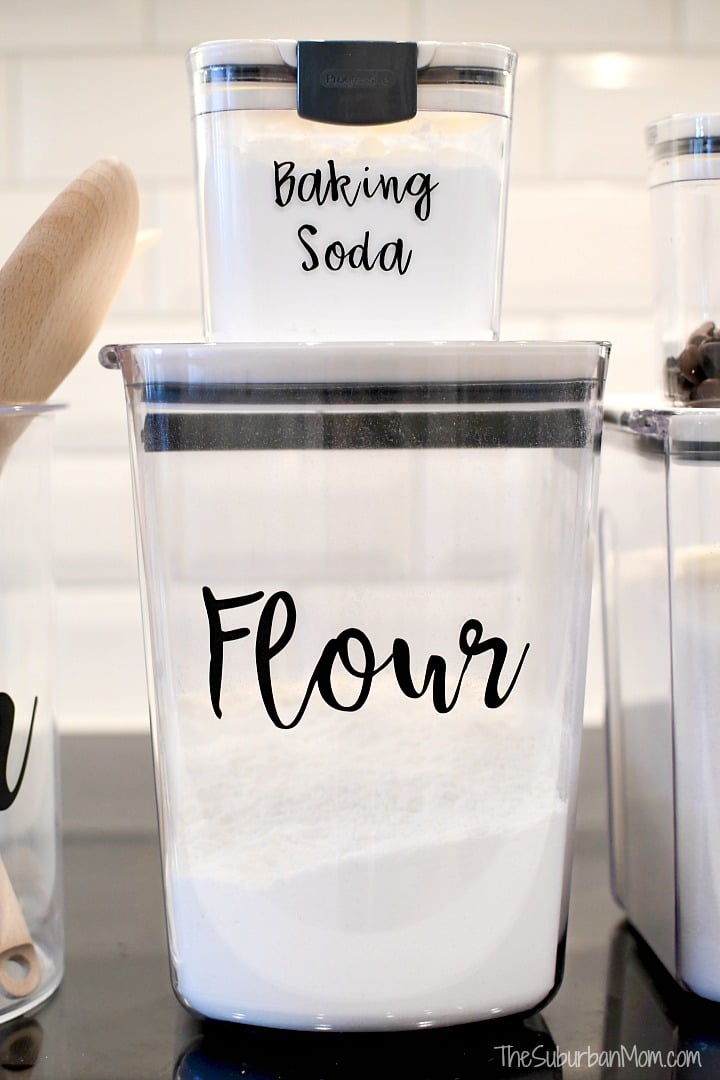
Our pantry makeover was a HUGE undertaking, and I plan to share the full reveal ASAP. (Waiting on one more container to arrive for the full reveal!) In the meantime, I am excited to share my baking section with its adorable pantry labels. (Aren’t they fun!)
Our pantry was a hodgepodge of jars and containers, nothing matched and many were not functional (like our sugar jar that I couldn’t get my hand in to scoop!). I am pretty sure we’ve owned some containers longer than we’ve been married and others were acquired one at a time along the way. Not any more. I searched high and low for containers that suited our needs. (In other words, many trips to the store to buy and return things that didn’t work for me until I found ones that did.) Now everything matches and is functional.
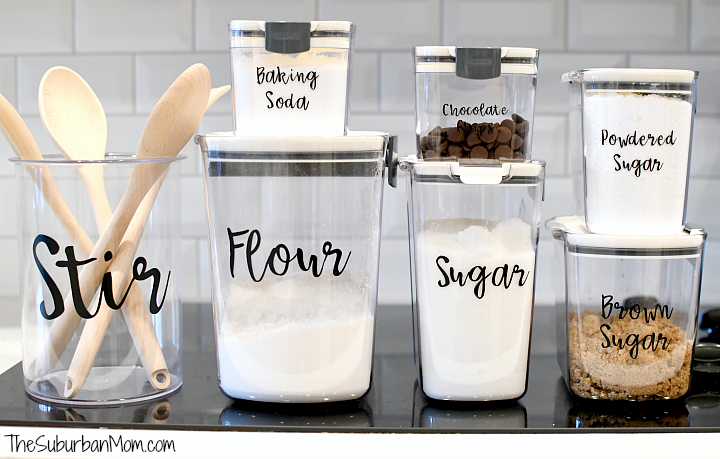
After a lengthy process of getting everything organized, I was excited to create pretty pantry labels. My baking section is now something worthy of being on display instead of buried in chaos. And the DIY pantry labels were the icing on the cake thanks to my new Cricut Maker.
Cricut Maker
I’ve had a Cricut cutting machine for more than a decade, and in that time I’ve owned two machines. But it’s years since I upgraded my last Cricut machine, which still took physical cartridges, so when Cricut reached out with an opportunity to work with them I was ecstatic. A new toy for mom!
To say the Cricut Maker is an upgrade to my old machine is like comparing the Cricut Maker to a pair of scissors. The Cricut Maker is the top-of-the-line cutting machine, and it can do things I never knew were possible — like engrave metal and cut fabric. This is high-tech crafting at it’s finest. This bad boy can do it all with more precision and less time than my old machine. Just look at this beauty.
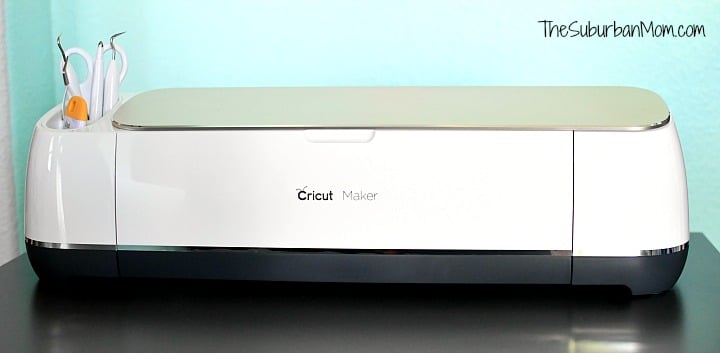
I have big plans for my Cricut Maker. The hardest part is deciding which project to start first.
Cricut Design Space
With old Cricut machines, the user had to purchase physical cartridges that plugged into the machine to create their project. So crafters were limited to what was available for purchase, and even more so by budget. New Cricut machines have done away with the cartridges in favor of Design Space that boasts more than 100,000 images with more added weekly, hundreds of fonts and a growing collection of ready-to-make projects — all at your fingertips.
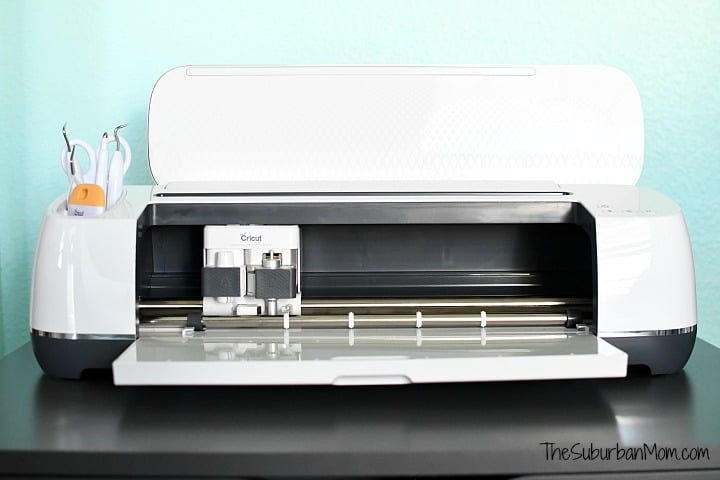
Unlike the cartridges which were $30-40 each, Designs Space is billed monthly (or annually) for $7.99 or $9.99 for premium. And each Cricut Maker comes with a free month trial so you can use Design Space to get you started the moment you open the box.
In addition to the images and fonts available in Design Space, what really blows away my old machine is the ability to import your own images, which means there unlimited possibilities as to what you can create. I’ve seen things created with handwriting, photographs and more. There’s a world of possibilities with the Cricut Maker.
DIY Pantry Labels
After making the sample project that came with my Cricut Maker. I set out to create my first project — DIY Pantry Labels. With thousands of fonts to choose from, the hardest part was looking through all of the available fonts. (I can’t wait to play with all of the fonts.)
Materials
- Black Cricut Permenate Vinyl
- Cricut Maker (project can also be made with a Cricut Air)
- Cricut Transfer Tape
- Cricut cutting mat – light grip
- Cricut Tools (optional, but they make everything easier!)
- Prepworks by Progressive ProKeeper
Cricut Pantry Labels Step 1 – The Design
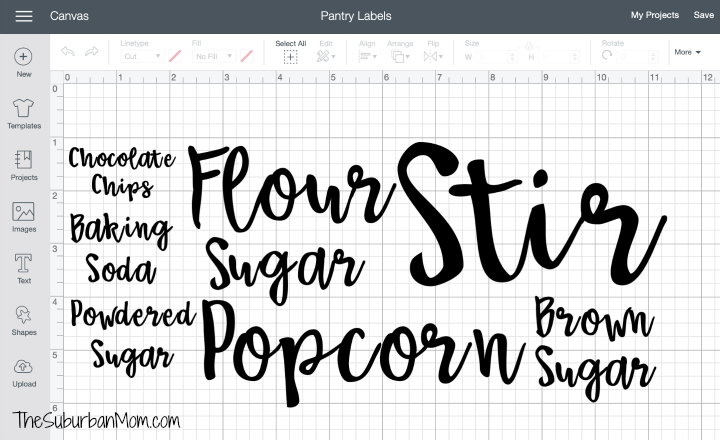
I selected “Babette” as the font for my Pantry Labels. Because I have experience with design programs, I manipulated the spacing between the letters to connect the font to make it look the way I wanted. After adjusting the font, I measured the front area of each container to determine the size for each label.
I typed out each of the labels and arranged them on my canvas in Design Space. Once I was satisfied with how everything looked it was time to cut.
You can design your own pantry labels in Design Space or you can use my pantry labels. Cricut users can access my public project HERE.
Cricut Pantry Labels Step 2 – Cut
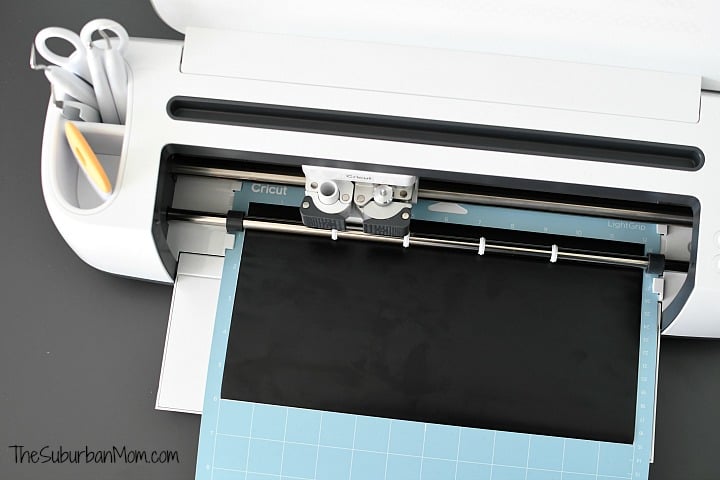
When it is time to cut your project, the Cricut system walks you through selecting all of the right settings for your project. (The blade needs to cut deeper for paper than for vinyl for example). All you have to do is load the mat with your material on it, press cut and watch the magic happen.
Cricut Pantry Labels Step 3 – Assemble
After cutting out the labels, use a weeding tool (or your fingernails) to pick out “weed” the vinyl pieces you don’t need for your project (like the centers of letters).

Cut a piece of transfer tape large enough to cover your label. Press down firmly so adhere the vinyl to the transfer tape and carefully peel up the vinyl with the transfer tape.
Line up the label on the container and press firmly (using your branish tool) to make sure the vinyl sticks. Peel back the transfer tape to reveal the finished project.
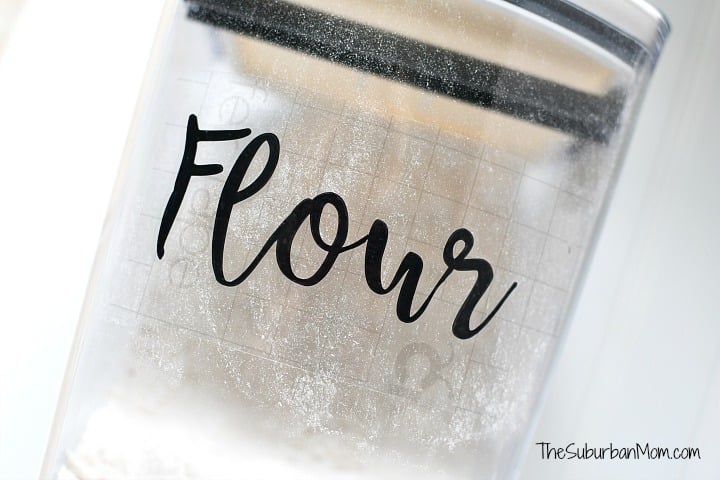
DIY Pantry Labels are a great first project for a new Cricut user because while they are simple, they have a big impact. They are even easier if you use my project because all you have to do is cut!
I am blown away by how far Cricut has come since my old machines. Everything is more sophisticated and intuitive. The Cricut Maker truly gives crafters the power of their imagination to cut, draw or engrave anything they can dream. I can’t wait to start my next project!
Don’t miss the rest of my pantry makeover.
For your next Cricut kitchen organization project, make these DIY Spice Jar Labels.

Can you make these in a printable version?! I do t own a Cricut but I love these.
Unfortunately, I used a Cricut font for these so I don’t have access to the font to make a printable. I do make lots of things that work for both printing and Cricut, but this time I really liked the Cricut font. 🙂
when i downloaded your free public file, it says it is private?
Hi Pat – just checked again and the project is marked public in Cricut Design Space. You do have to be a registered Cricut user to access Design Space. If you are logged in, I am not sure why it would say private, but it is hard for me to check to see what you are seeing because when I log-in it is my file. Please try again and let me know if you still have problems after logging into Cricut.
Hey there! These are so cute and I’m currently looking to do the same! Where did you find the containers?
Thanks!
Ashley
There is a link to the one ones I bought on Amazon in the “Materials” section of this post. But I recently saw the same set at Costco (December 2020). They might still have some.
Here’s the direct link to mine on Amazon – https://www.amazon.com/Prepworks-Progressive-6-Piece-ProKeeper-Each/dp/B01LWS0LK9/ref=as_li_ss_tl?keywords=prokeeper&qid=1578538917&sr=8-3&linkCode=ll1&tag=babubl-20&linkId=8c85e8d86a714d367c3bb6f3111bd426&language=en_US
Love this! What font is it?
HI! The font I used for this project is “Babette” it is included with Cricut Design Space.
We just remodeled our Kitchen, including new pantry and I’ve started to set up pantry. I’ve purchased OXO Airtight containers and am ready to get started with organizing. I LOVE YOUR LABELS!
Although I’ve had my Cricut Explore Air 2 for over a year, I’ve not used it very much so this will be my “first label” project! I’m excited to get started but also a bit intimidated!
I will need more labels than you have in your project; my question is how do I add the word/description for the additional labels that I need?
Thanks for your time.
Nola
Hi! Congrats on the remodel, it’s so fun when it is all finished! I am happy to help you get started. If you have access to Cricut Design Space, click the link to open the labels directly in Cricut Design Space. It should give you the option to “make it” or “customize it,” you will want to customize it. This will open my labels into a design page. I have them linked together, if you right-click you can select “detach.” This way you can delete any of my words you don’t need. Use the text tool to write any word you want for a label, then change the font to “Babette.” You can resize the word you created (or any of mine) to any size you need. When you have all of the words you need, you are ready to cut.
I hope that helps answer your question. Be sure to send me a picture of the completed project. I can’t wait!
Jen
sadly, they didn’t have Babette anymore 🙁
Hi! Cricut still uses Babette, it’s one of my favorites. When you search for it, make sure the “Kerned Fonts” box isn’t checked. I find that box is often checked by default and Babette is not a kerned font.